Review one product photo before you export it.

A clean listing image starts with an honest source-photo decision: is the full product visible, can the edge be checked, and do you need a finished listing file or a reusable cutout? This guide uses current SellShot screens to walk through those choices on iPhone.

  1. 01

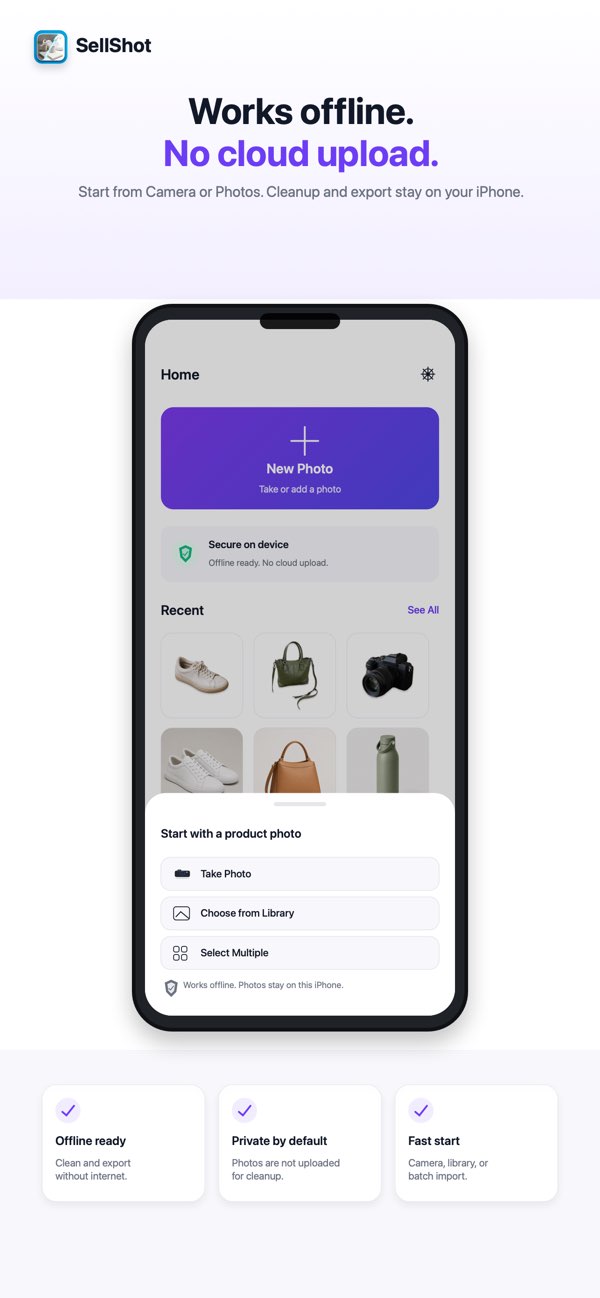
    Choose a single-photo or multi-photo start

    Use Camera or Photos for one product. Select Multiple starts a batch session when several product photos need the same kind of cleanup. Before continuing, check that the product you need is visible in each source image.
  2. 02

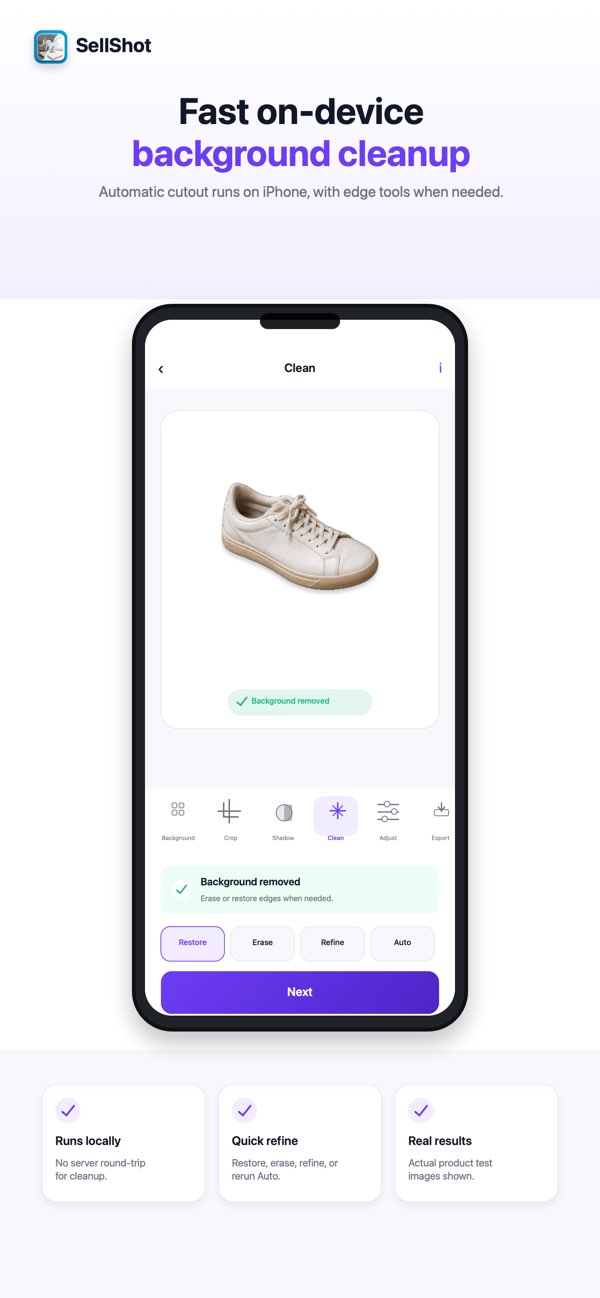
    Decide whether the cutout needs edge work

    Automatic cutout runs on your iPhone. Inspect the outline, then use Restore to bring back product detail, Erase to remove remaining background, or Refine for a more careful pass when needed.

  3. 03

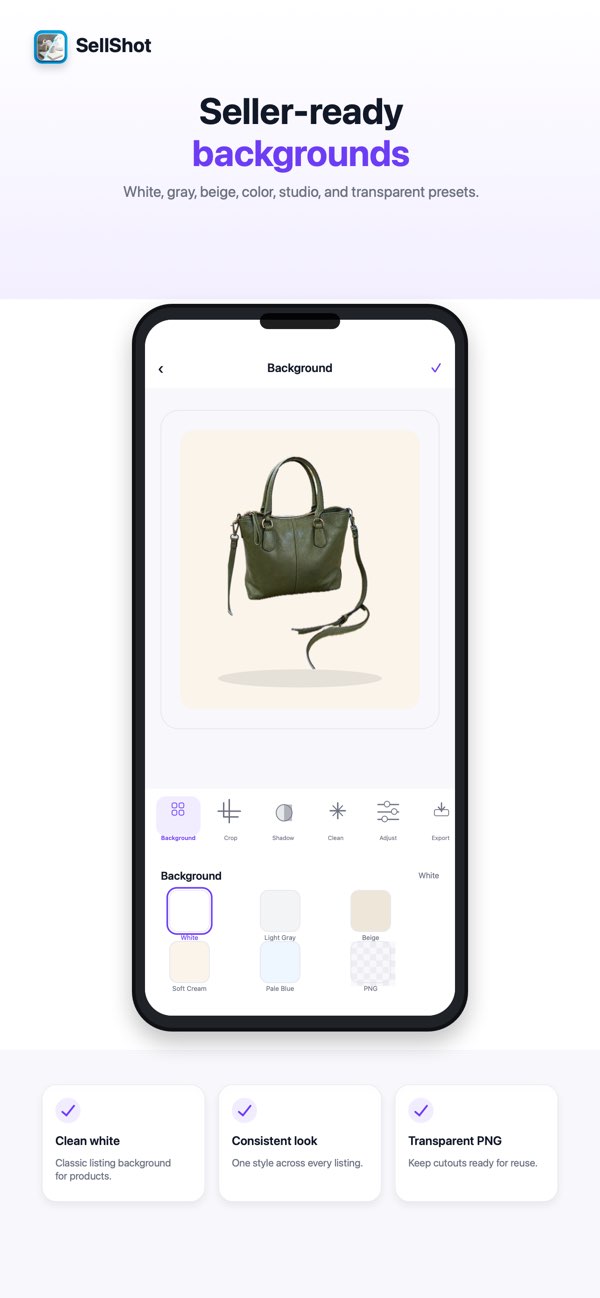
    Match the background to the destination

    Choose white, gray, beige, color, studio, or transparent, then adjust crop, position, rotation, padding, and shadow. Check the destination's current image requirements before you publish the listing.

  4. 04

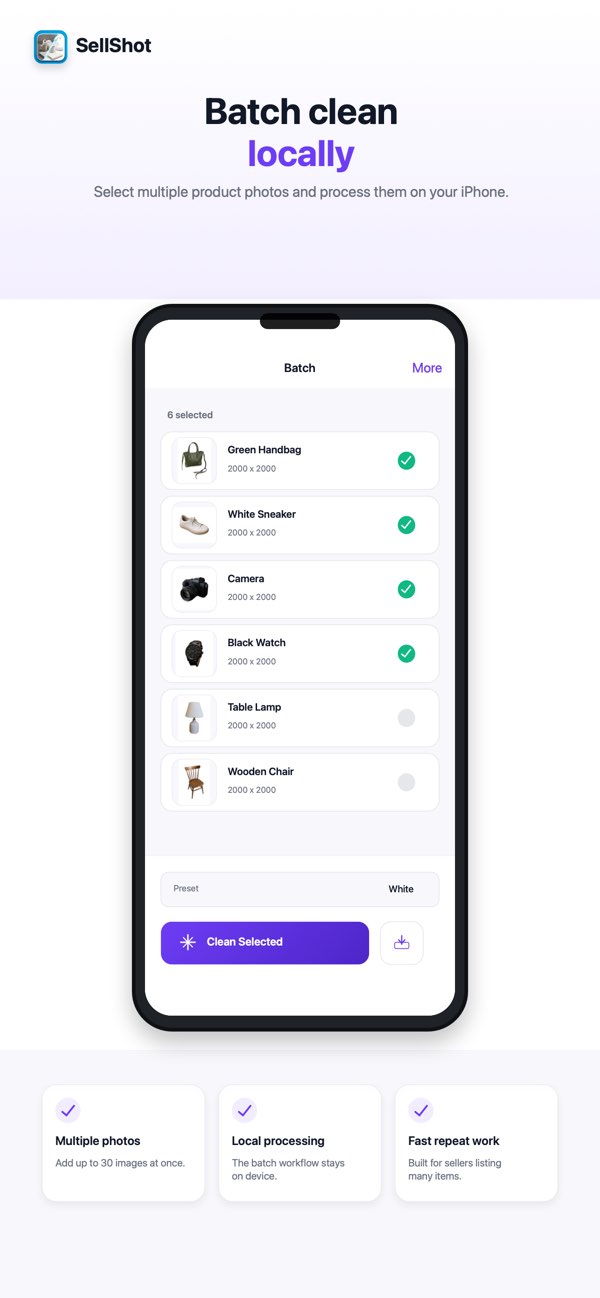
    Use batch only when the photos share a preset

    Batch work lets you select multiple product photos and apply one preset on your iPhone. Review the selected items and the preset before running cleanup; use the single-photo path when an item needs its own edge or layout decisions.

Do not treat the automatic cutout as the final check.

Start with one photo when the item needs its own edge or layout decision. In the cleanup screen, inspect the outline before you choose a background: restore detail that belongs to the product, erase remaining background, or refine an edge that still looks uncertain.

Then match the file to the next job. Choose JPG when the listing image is finished. Choose transparent PNG when you want to keep the cutout for another layout. Batch is useful when the selected photos can share a preset; it does not remove the need to review a difficult item on its own.

Match the review to the app screen.

SellShot start screen with camera, photo library, and multiple-photo choices
Decision 1Choose a single-photo or multi-photo start
SellShot cleanup screen with restore, erase, and refine edge tools
Decision 2Decide whether the cutout needs edge work
SellShot background screen with a product placed on a clean beige background
Decision 3Match the background to the destination
SellShot batch screen with multiple product photos prepared for cleanup
Decision 4Use batch only when the photos share a preset

Automatic cutout is a starting point, not a guarantee.

Glass, fur, thin straps, reflective surfaces, transparent items, and complex backgrounds may need manual refinement. Marketplace image rules can also change, so verify the destination's current requirements before publishing.

Run a final listing-image check.

Confirm the product edge, background, crop, position, padding, and shadow. Then choose JPG for a finished image or transparent PNG when you want to keep the cutout available for another layout. Square and social-size presets are available when they fit the destination.